
01
Flooring selection & layout
Explore the colour, plank direction or pattern that suits your room. Consider how the selected surface will relate to furniture, natural light and adjoining spaces.

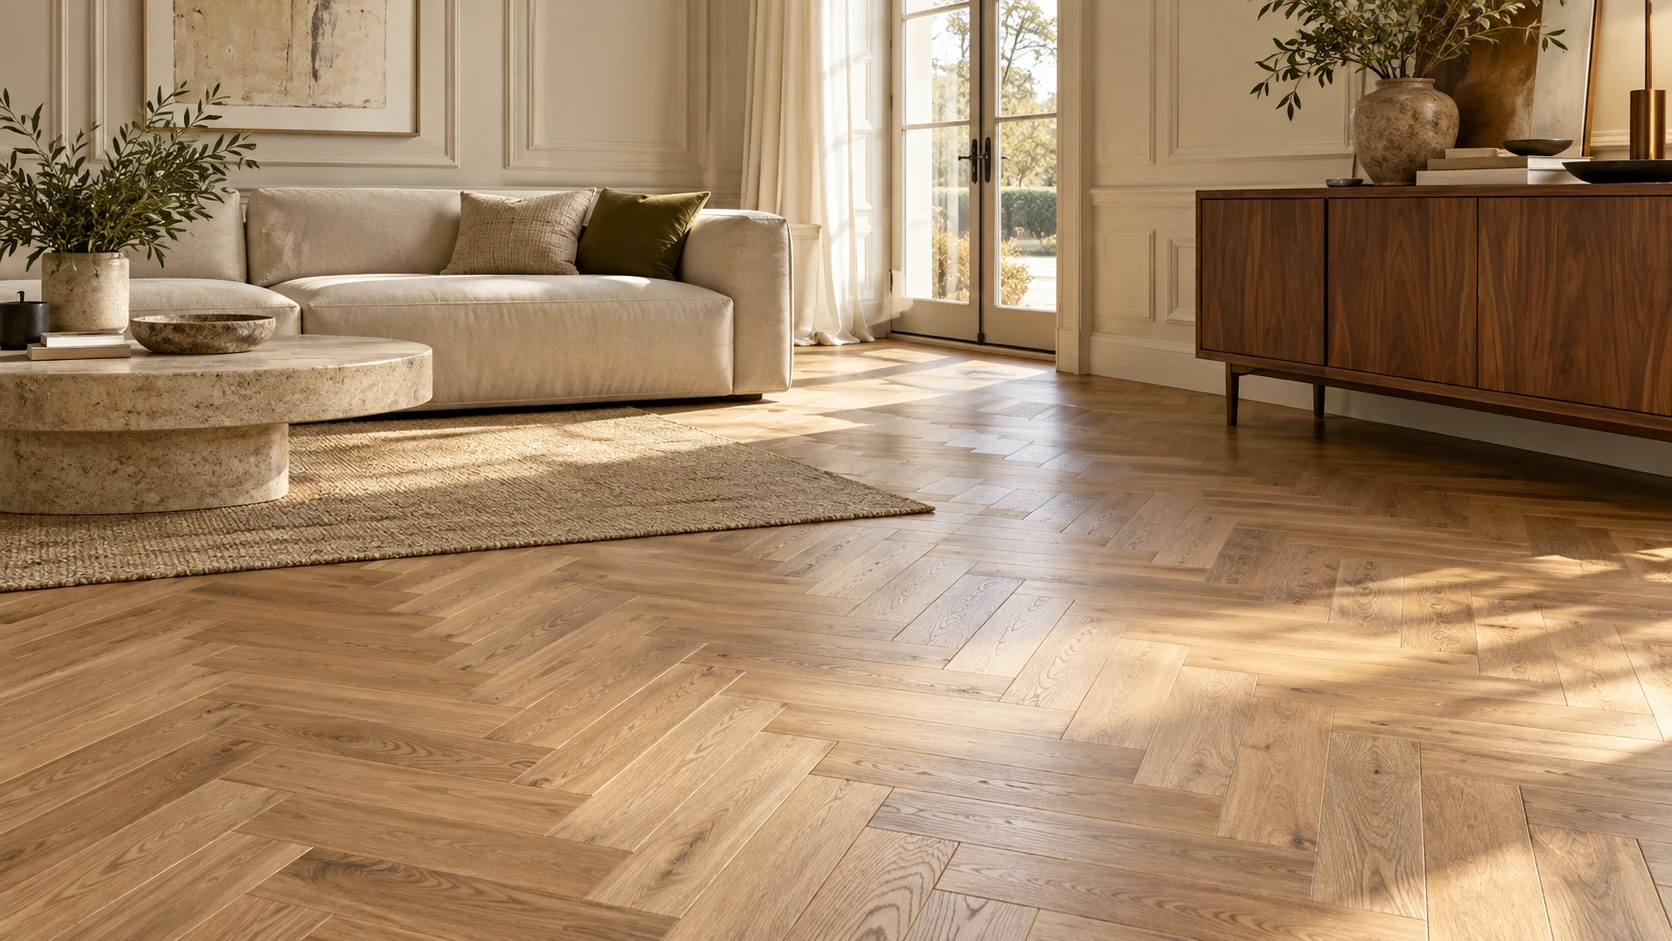
Flooring, skirting and decorative moulding details that create a more complete and coordinated interior.
Flooring sets the tone for the interior, while skirting and moulding give its edges definition. A thoughtful combination can connect separate rooms, complement existing furniture and create a finish that feels intentional rather than pieced together.
Hazara Wood Line can discuss available flooring directions and decorative finishing details for your renovation brief. Product choice, pattern and surface preparation need to be considered together, with the existing floor condition and door clearances reviewed before the installation scope is agreed.
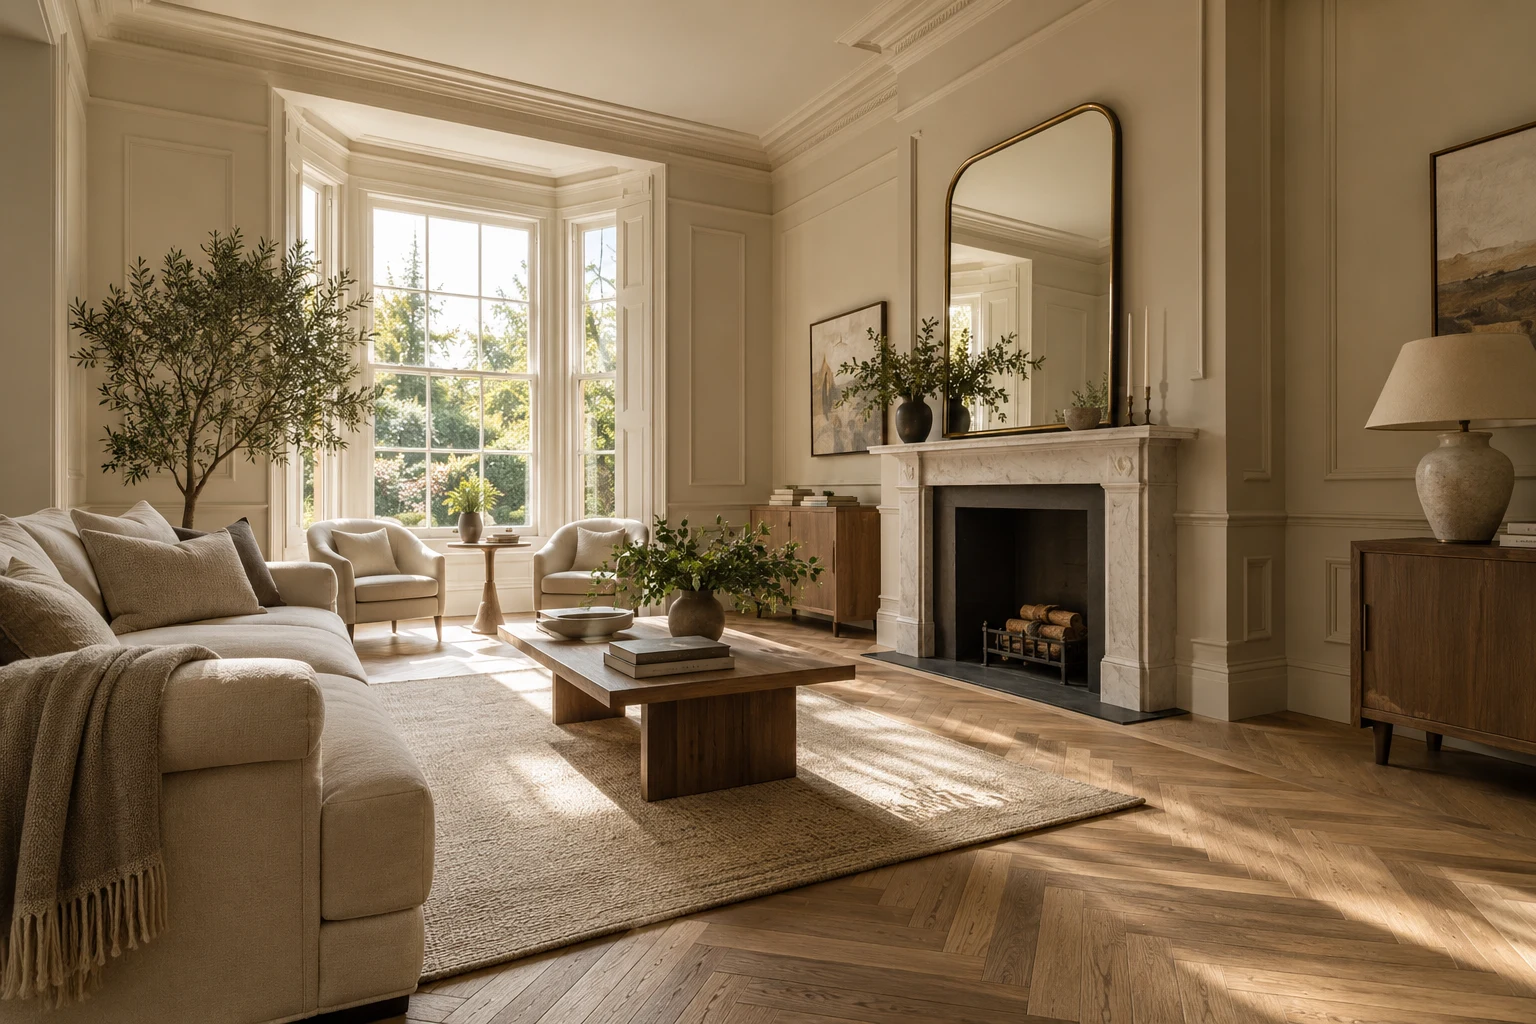
Explore the colour, plank direction or pattern that suits your room. Consider how the selected surface will relate to furniture, natural light and adjoining spaces.
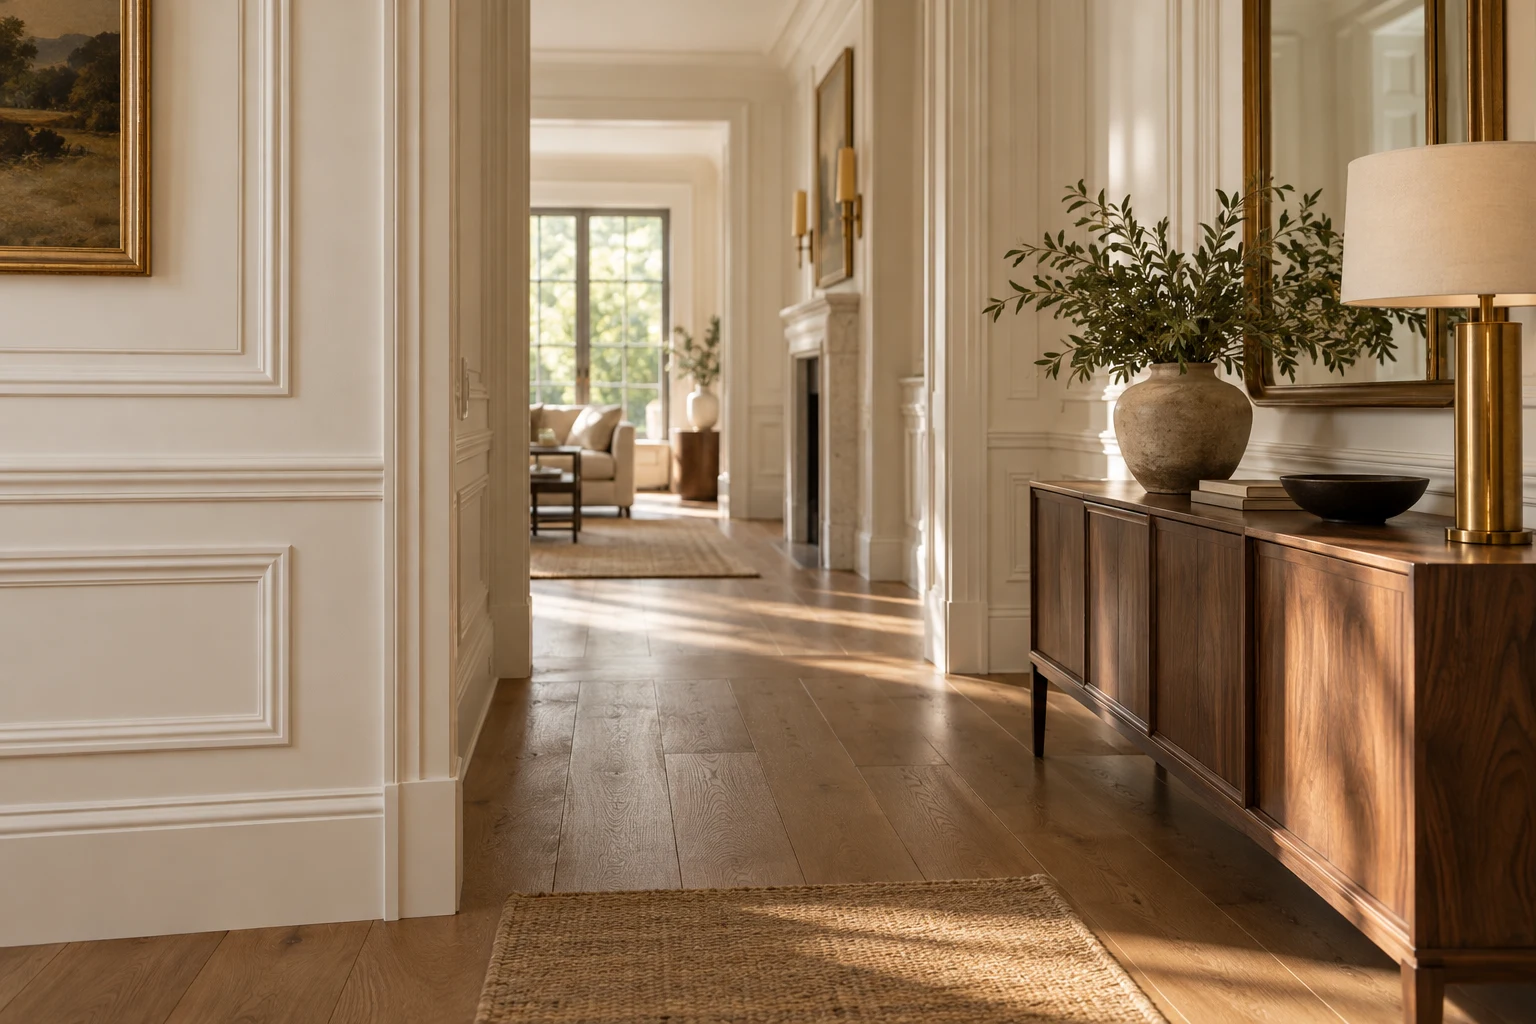
Finish the perimeter and doorways with coordinated edges. Review skirting height, junctions and thresholds so the change between rooms is planned rather than left until the end.
Create subtle architectural definition with balanced wall proportions. Panel placement should account for furniture, sockets and the rhythm of the room’s existing openings.
The substrate must be considered before fitting a new floor. Share the room dimensions, existing floor type and photographs of uneven or damaged areas. Identify door clearances and adjoining finishes. Discuss preparation, removal, product suitability and the treatment of skirting or thresholds as explicit quotation items.
Inspect levels, finishes and access.
Agree the tone, pattern and finishing details.
Identify work needed before installation.
Review junctions, transitions and moulding alignment.
Preparation depends on the condition, flatness and requirements of the selected product. The team should assess the surface before confirming what work is necessary and how it will be quoted.
Continuity can be discussed, but doorways, expansion requirements and differences in floor level need to be considered. The selected product’s installation guidance should inform the transition details.
The wall condition, layout and fixing method should be reviewed first. Confirm the scope of any preparation, finishing or repainting associated with the moulding installation.
Consider the room proportions, natural light and surrounding furniture. Bring reference images so plank direction, herringbone or other available patterns can be compared within the practical scope.
Discuss flooring, skirting and moulding as one coordinated brief, with preparation and edge details clearly planned.